Safe Installation of Bathroom Safety Grab Bars: A Guide to Preventing Accidents
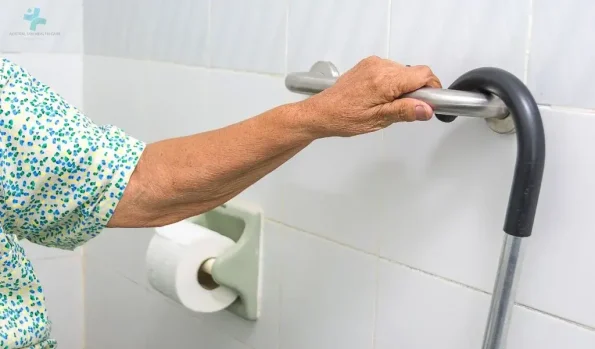
How can I properly install safety grab bars in my bathroom to prevent accidents?
The Importance of Bathroom Safety
Ensuring bathroom safety is paramount, especially in homes with elderly or individuals with limited mobility, where the risk of slips and falls is significantly higher. Integrating safety grab bars within the bathroom space is a critical preventive measure to safeguard against accidents. These grab bars provide essential support and stability around high-risk areas such as the toilet, shower, and bathtub, significantly reducing the likelihood of falls. Understanding the strategic placement and proper installation of these bars can empower homeowners to create a safer bathroom environment, fostering independence while minimizing the risk of injury. Through educating ourselves on the importance of bathroom safety and the effective use of grab bars, we can take a significant step towards preventing accidents and enhancing the overall safety of our living spaces.
Choosing the Right Safety Grab Bars
Selecting the appropriate safety grab bars for your bathroom is a crucial step in preventing accidents. These devices are not one-size-fits-all, and their effectiveness is largely dependent on choosing the right type, material, and size to meet your specific needs.
Types of Grab Bars and Their Uses
- Suction Cup Grab Bars: Ideal for temporary support or for those who rent their homes, as they do not require drilling into walls. However, they are not as secure as permanently mounted bars and should be checked regularly to ensure they are firmly attached.
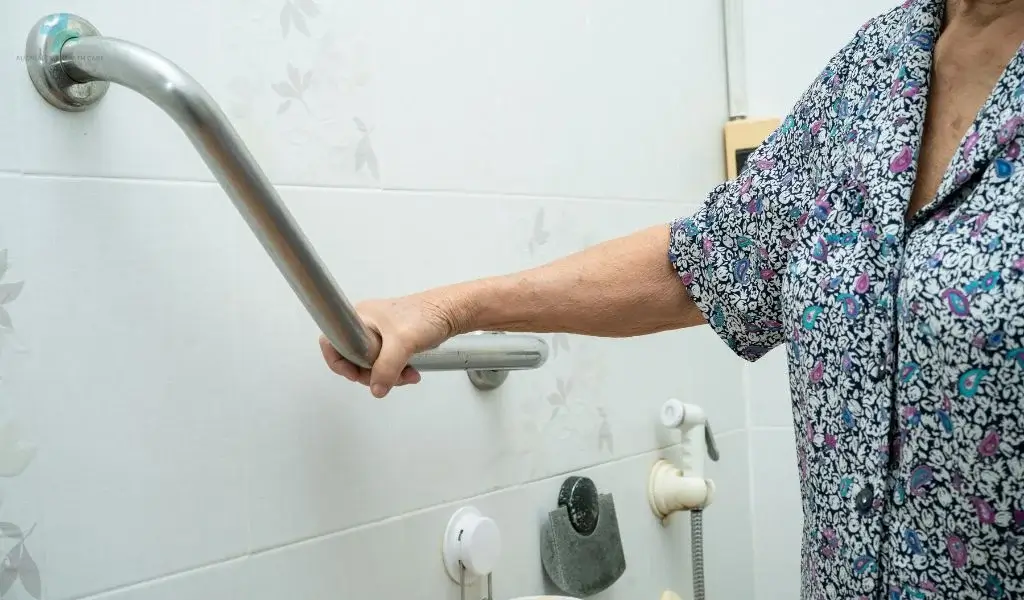
- Wall-mounted Grab Bars: These provide the most reliable form of support and are recommended for permanent installations. They require drilling into the wall and should be anchored securely to withstand substantial weight.
Materials and Finishes
Safety grab bars are available in a variety of materials and finishes, including stainless steel, plastic, and chrome. Stainless steel is favoured for its durability and resistance to rust, making it an excellent choice for wet bathroom environments. The finish should not only match your bathroom’s aesthetic but also offer a non-slip grip for wet hands.
Size, Shape, and Weight Capacity
The size and shape of the grab bar should cater to the user’s grip preference and the specific area of installation in the bathroom. Generally, bars range from 12 to 48 inches in length, with diameters that provide a comfortable grip. The weight capacity is critical; ensure the grab bar can support the user’s weight, with most quality bars designed to hold up to 250 pounds or more when properly installed.
Pre-Installation Planning
Identifying the Optimal Placement
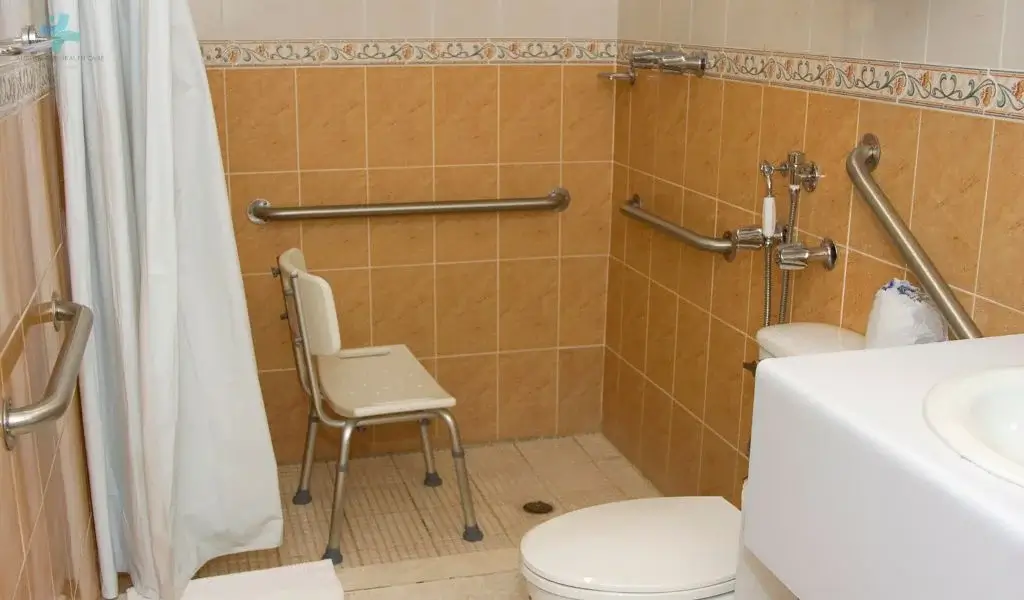
Optimal placement of grab bars is critical for maximising safety and accessibility. Ideal locations include near the toilet, inside the shower, and beside the bathtub, where support is most needed.
Assessing Wall Structure and Material
Evaluating the wall structure and material is crucial for a secure installation. Different materials, such as drywall or tiles, require specific approaches to ensure that grab bars are safely anchored.
Tools and Materials Needed for Installation
A successful installation requires the right tools and materials, including a drill, drill bits, screws, wall anchors, a level, and a stud finder, ensuring the grab bars are securely mounted.
Step-by-Step Installation Guide for Safety Grab Bars
Ensuring the safe installation of bathroom safety grab bars involves a careful and methodical approach. This guide will walk you through the process from start to finish, ensuring your grab bars are securely installed to provide optimal support and safety.
Marking the Installation Points
- Determine the Height: Identify the most suitable height for the user, commonly between 33 to 36 inches off the floor for horizontal grab bars.
- Location Accuracy: Use a stud finder to locate studs behind the wall where the grab bars will be mounted. Mark these locations with a pencil for precision drilling.
Drilling and Anchoring
- Preparation: Once the installation points are marked, prepare your drill with the correct bit size for the wall material—masonry bit for tiles, for example.
- Tips for Drilling into Tiles Without Cracking:
- Apply masking tape over the drilling area to prevent the drill bit from slipping.
- Start drilling at a slow speed to prevent heat build-up, which can crack tiles.
- Use a slightly smaller drill bit than the wall anchor size to ensure a tight fit.
Securing the Grab Bar
- Screw Installation:
- Insert wall anchors into the drilled holes, ensuring they are flush with the wall surface.
- Position the grab bar over the holes and fasten it with screws, tightening them securely to ensure the bar is firmly anchored to the wall.
- Adhesive Installation (if applicable):
- For surfaces where drilling is not possible, a high-strength adhesive can be an alternative.
- Apply adhesive according to the manufacturer’s instructions on the back of the grab bar.
- Press the bar firmly against the wall for the recommended time to ensure a strong bond.
Final Checks: Once installed, give the grab bar a firm tug to test its stability and ensure it is securely attached. This step is crucial for ensuring the safety and reliability of the grab bar, providing peace of mind that it will offer the necessary support when needed.
Maintenance and Safety Checks
To ensure the ongoing safety and effectiveness of bathroom safety grab bars, regular maintenance checks are essential. Periodically inspect the grab bars for any signs of looseness or wear, and tighten any loose fixtures immediately to maintain their stability. It’s also important to recognize when grab bars need replacing—look for signs of rust, corrosion, or significant wear that could compromise their strength. Additionally, complement these safety measures with non-slip mats to prevent slipping on wet surfaces and adequate bathroom lighting to improve visibility and reduce the risk of accidents. By adhering to these maintenance and safety tips, you can create a safer bathroom environment that minimizes the risk of falls and injuries.


